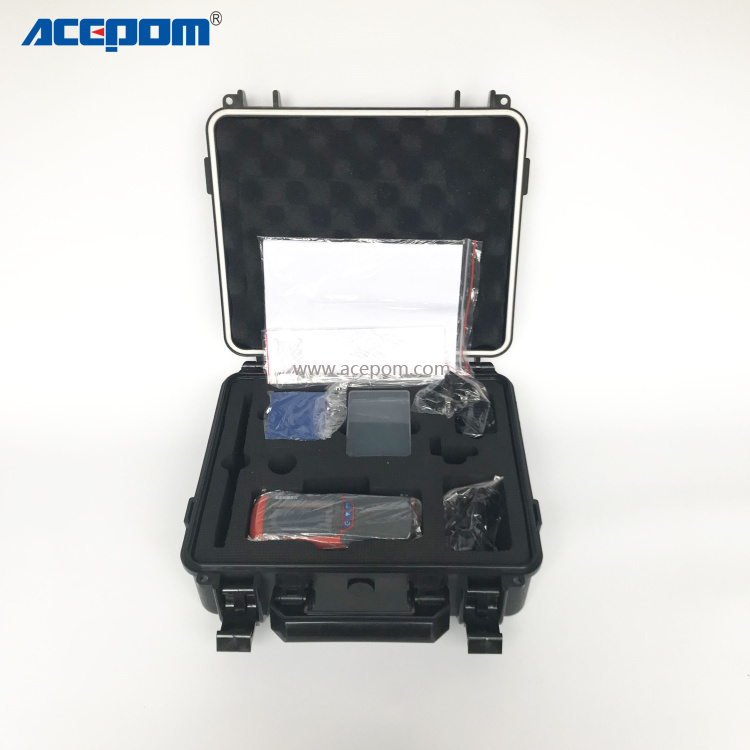
ACEPOM surface roughness meter UEE942 measuring instrument and roughness tester
ACEPOM surface roughness meter UEE942 measuring instrument and roughness tester
- Detail
- Parameters
ACEPOM surface roughness measuring instrument and roughness tester UEE942
Function & application
This instrument is a sensor & host integration pocket instrument. It is suitable for carrying, can do fast measurement and testing on site. With features of highly measurement accuracy, widely measurement range, portable size, easy operation, stable working, it can be widely used for surface detection of various metal and nonmetal processing.It can be widely used for surface detection of various metal and nonmetal processing.
Working Principle
Needle scanning method, start the instrument and do the measurement after placing the instrument on the surface of the work-piece. The inside precision driven component of instrument drive the probe slide straightly along the surface of the workpiece while the probe with its sharp stylus detecting the surface of the workpiece. At the same time the workpeice surface roughness will make the stylus displacement along vertically. This displacement makes the probe piezoelectric wafer deform and output electric signal. After amplified and level translated, this signal will go to the data acquisition system.DSP chip will conduct digital filtering and parameter calculation for the collected data. And the measurement results will be displayed on the OLED display screen.
Working Conditions
1 Working conditions
Temperature: 0 ~40 °C
Relative humidity: < 80%.
No vibration, no corrosive media around
2 Storage conditions
Temperature: -20 ~60 °C
Relative humidity: <90%.
3 Transport conditions
Circulation condition: Third level.
Instrument Features
l Measurement parameters: Ra,Rz,Rq,Rt,Rp,Rv,R3z,R3y,RzJIS,Rsk,Rku,Rsm,Rmr
l Using high-precision piezoelectric crystal transducer.
l Mechatronics design, smaller and lighter.
l 128×32 OLED dot matrix LCD displays clearly without backlight.
l Using DSP chip execute control and data processing.
l Built-in lithium polymer rechargeable battery and charging protection circuit.
l Probe head protection gate.
l Mini-USB charging interface, available for phone charger.
Operating Method and Attentions
1 When the probe is moving, make it as steady as possible to avoid affecting the
measurement precision.
2 The instrument will not do response to any measure operation before the probe back to
the original place. It only can permit new measurement until completing the last measurement .
Instrument Maintenance
1 Avoid collisions, severe vibration, heavy dust, moisture, oil, strong magnetic field and so on.
2 After each measurement completed, please turn off the power in time to preserve battery power and the battery should be charged in time.
3 3 hours’ charging is best for the instrument. To prevent battery damage, you should not overcharge.
4 The probe is one of the most precise components to be used carefully. Please close the probe protect door softly after using to avoid probe damage caused by vibration.
5 The standard model should be carefully protected to avoid precision lose caused by scratch. Please package the model in time after measuring.
Net Weight 200g Dimensions: 105 mm×70 mm×24 mm Charger DC 5V, 500mAh Battery 3.7V Lithium-polymer battery Sensor head pressure ≤0.5N Measuring force and change rate ≤0.016N, ≤800N/m Probe tip’s arc radius and angle 10.0±2.5 μm, 90° Indication variation <12% Indication error ±15% Measurement range(μm) Ra(0.025μm ~ 12.5μm),Rz(0.02μm ~ 160μm) Access length(mm) 1.25, 4.0, 5.0 Lr(mm) 0.25, 0.80, 2.5 Stroke length(mm) 6 Measurement parameters(μm) Ra,Rz,Rq,Rt,Rp,Rv,R3z,R3y,Rz(JIS),Rs,Rsk,Rsm,Rku,Rmr; Ry Rz;Rmax=Rt,RPc,Rk,Rpk,Rvk,Mr1,Mr2 .
